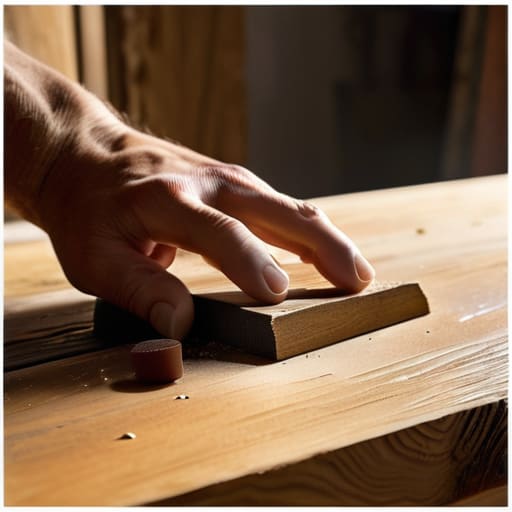
I was sitting in a sun-drenched courtyard in Oaxaca last summer, watching an elderly artisan carefully smooth out the grain of a hand-carved stool, when it hit me: we often mistake damage for destruction. Most people think that once they see those deep gouges and unsightly marks, the piece is destined for the landfill, but that’s a total myth. In reality, restoring a scuffed wooden table isn’t about erasing its history or making it look like it just rolled off a factory assembly line; it’s about honoring the years of shared meals and laughter that left those marks in the first place. Those scratches aren’t flaws—they are the soul of the wood waiting to be brought back to light.
I’m not here to sell you on expensive, complicated machinery or professional-grade chemicals that turn your living room into a workshop. Instead, I want to share the honest, stripped-back methods I’ve learned from travelers and craftsmen across the globe. I’ll guide you through the gentle, tactile process of breathing life back into your furniture, from selecting the right abrasives to the final, nourishing polish. By the end of this, you won’t just have a fixed piece of furniture; you’ll have a restored heirloom that feels more alive than ever.
Guide Overview
Tools & Supplies
- Sandpaper (various grits for smoothing)
- Microfiber cloth (for dust removal)
- Screwdriver (if legs need removal)
- Wood filler (small tube for deep scuffs)
- Wood stain (small can to match color)
- Furniture wax or polyurethane (small can for protection)
- Tack cloth (one pack for cleaning)
Step-by-Step Instructions
- 1. Before we dive into the heavy lifting, we need to clear the stage. Grab a soft, lint-free cloth and some mild wood soap to gently wipe away any dust or lingering residue from years of family dinners. You want a clean canvas before you start working, ensuring that no grit gets trapped under your tools and creates even more unwanted scratches.
- 2. Once the surface is clean, it’s time to assess the depth of the “scars.” For those light, superficial scuffs that look like they’ve just lost their luster, I find that a bit of fine-grit sandpaper (around 220 or 320 grit) works wonders. Move in the direction of the grain—never across it! Think of it like following the natural rhythm of a local song; if you go against the flow, you’ll leave marks that are much harder to hide later.
- 3. If the scuffs are a bit deeper and more stubborn, you might need to go a little deeper into the restoration process. Use a slightly coarser sandpaper to carefully level out the damaged areas, but treat this like a delicate dance. You aren’t trying to strip the wood down to its bare soul, just smoothing out the uneven terrain so the surface feels whole again.
- 4. After the sanding is complete, the table will likely be covered in a fine layer of dust. This is a crucial moment—take a vacuum with a soft brush attachment or a tack cloth to lift every single particle away. If you leave even a tiny bit of dust behind, your finish won’t bond properly, and you’ll end up with a texture that feels more like sand than silk.
- 5. Now, we bring the color back to life. Depending on whether your table is a light oak or a deep mahogany, you’ll want to select a stain that honors its history. Apply the stain using a clean rag or a foam brush, working in small, circular motions to ensure even coverage. It’s a bit like learning a new folk dance; it takes a little rhythmic patience to get the movement just right, but the results are absolutely worth the effort.
- 6. Once the stain has sat long enough to penetrate the wood and you’ve wiped away the excess, it’s time for the final layer of protection: the finish. Whether you choose a classic wax for a soft, lived-in glow or a polyurethane for a more durable shield, apply it in thin, even layers. This is the final flourish that protects your hard work from the spills and celebrations of the years to come.
- 7. Finally, let the table rest. It’s tempting to immediately set down a vase of flowers or a stack of books, but the finish needs time to cure completely. Give it a few days to truly settle into its new skin. In the meantime, I usually find myself just sitting there with a cup of coffee, admiring how a little bit of intentional care can turn a weathered object back into a centerpiece of connection.
Gathering Your Sacred Wood Refinishing Tools and Supplies
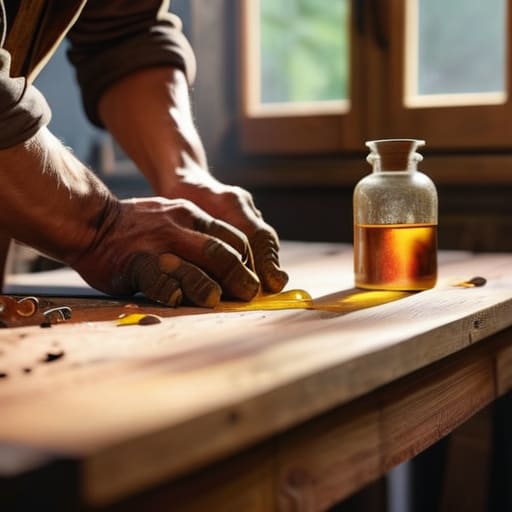
As you move from the physical labor of sanding into the more delicate phase of applying finishes, you might find yourself feeling a little lost in the sea of oils, waxes, and stains. It’s a bit like trying to learn the footwork of a complex folk dance without a teacher—you know the rhythm is there, but you’re just not quite sure how to land the step. If you ever hit a wall or just want to swap stories with fellow makers who understand that obsession with the perfect grain, I highly recommend checking in with this community. They are an incredible group of people who value the soulful process of creation just as much as the finished piece, and they can be a wonderful source of unexpected inspiration when you’re deep in the middle of a project.
Before we dive into the actual work, I like to think of this stage as preparing my rucksack before a trek through the Andes—you wouldn’t want to realize you’ve forgotten your compass halfway up a mountain, right? Gathering your wood refinishing tools and supplies is about more than just checking off a shopping list; it’s about respecting the history held within the grain. I always suggest setting up a dedicated workspace, perhaps near a window with plenty of natural light, much like how I used to arrange my maps in the sun-drenched breakfast nook back home.
As you scout for materials, don’t just grab the first thing you see. If you’re planning on repairing deep gouges in timber, you’ll want to invest in a high-quality wood filler that matches your specific species. I’ve learned the hard way that a mismatched filler is like wearing bright neon hiking boots in a quiet temple—it just doesn’t belong. Grab a variety of sandpaper grits, ranging from coarse to fine, because mastering different sanding techniques for furniture is the secret to a finish that feels as smooth as a polished river stone.
Mastering Sanding Techniques for Furniture to Reveal Hidden Beauty
Now, this is where the real magic—and a fair bit of patience—happens. Think of sanding not as a chore, but as a way of gently uncovering the soul of the piece, much like peeling back the layers of a new culture to find its true heart. When you begin removing scratches from wood surface, it’s tempting to go in heavy-handed, but I’ve learned the hard way that aggression is the enemy of elegance. Always follow the natural grain of the wood; fighting against it is like trying to learn a complex folk dance without listening to the rhythm of the music—you’ll just end up feeling out of sync and frustrated.
As you progress through various grits, remember that the goal is a seamless transition. If you’re repairing deep gouges in timber, you might need to spend a little extra time in those specific valleys to ensure they don’t stand out once you move on to the finishing stages. I like to think of it as smoothing out the rough edges of a traveler’s story before the final chapter is written. Take your time, feel the texture change beneath your hands, and trust the process.
The Soulful Details: Small Gestures for a Grand Transformation
- Trust your intuition with the grain; always follow the natural flow of the wood’s pattern, much like following a winding mountain trail, to ensure your repairs feel like a natural part of the table’s history rather than a forced correction.
- Don’t fear the imperfections; sometimes a tiny, nearly invisible scar is worth keeping if it preserves the piece’s “patina”—that beautiful, lived-in character that tells the story of every family meal shared around it.
- Test your finishes in the shadows first; just as you wouldn’t dive into a new ocean without checking the temperature, apply your oils or waxes to a hidden underside to see how the wood truly reacts to the light.
- Patience is your greatest tool; rushing the drying process is like trying to learn a complex folk dance in five minutes—you might get the steps, but you’ll lose the rhythm and the grace.
- Cleanse the canvas thoroughly between steps; use a soft, lint-free cloth to whisk away every speck of dust, ensuring that the next layer of beauty settles onto a surface as pure and welcoming as a fresh morning in a coastal village.
Honoring the Journey of Your Wood
As you step back from the workbench, take a moment to really look at what you’ve achieved. We’ve moved through the intentional process of gathering the right tools, carefully smoothing out those imperfections through patient sanding, and preparing the surface to receive its new life. It wasn’t just about removing scratches; it was about stripping away the chaos to reveal the steady, quiet strength of the grain underneath. By following these steps, you haven’t just performed a repair—you have successfully reclaimed the integrity of a piece that was meant to endure.
In my travels, I’ve learned that the most beautiful things in life are rarely the ones that are untouched by time; they are the ones that have been mended with intention and care. A restored table is much like a well-traveled map or a seasoned folk dancer—it carries the marks of its history, but it moves with a renewed grace. As you place your coffee cup or a vase of wildflowers back onto this surface, remember that you aren’t just looking at furniture anymore. You are looking at a living testament to the beauty of preservation and the profound joy of tending to the things we love.