I still remember the day I decided to tackle the outdated bathroom in my first home – it was a major eyesore. As I stood there, staring at the cracked and discolored grout, I thought to myself: learning how to regrout your bathroom tile for a fresh look would be a daunting task, but it had to be done. What I didn’t realize at the time was that this simple DIY project would completely transform the space, making it feel like a brand new room. The common myth that regrouting is a complicated, expensive process had held me back for far too long.
As you read this article, you’ll discover the honest truth about regrouting your bathroom tile. You’ll learn that with the right tools and a bit of patience, you can achieve a fresh new look without breaking the bank. In this guide, I’ll walk you through the step-by-step process of how to regrout your bathroom tile for a fresh look, from preparation to completion. You’ll get practical, no-nonsense advice on how to choose the right materials, remove old grout, and apply new grout like a pro. By the end of this article, you’ll be equipped with the knowledge and confidence to tackle this project and give your bathroom the makeover it deserves.
Table of Contents
Guide Overview: What You'll Need

Total Time: 4 hours 30 minutes
Estimated Cost: $20 – $50
Difficulty Level: Intermediate
Tools Required
- Grout Saw (for removing old grout)
- Grout Float (for applying new grout)
- Grout Sponge (for cleaning up excess grout)
- Utility Knife (with extra blades)
- Putty Knife (for scraping out old grout)
- Bucket (for mixing grout)
- Measuring Cup (for measuring grout and water)
- Mixing Stick (for mixing grout)
- Rubber Gloves (for protecting hands from grout and water)
- Safety Goggles (for protecting eyes from grout and water)
Supplies & Materials
- Grout (choose a color that matches your existing grout)
- Grout Sealer (optional, but recommended for protecting the grout)
- Grout Additive (optional, for improving grout durability)
- Silicone Caulk (for recaulking around edges and corners)
- Water (for mixing with grout)
- Cleaning Solution (for cleaning the tile and grout before regrouting)
Step-by-Step Instructions
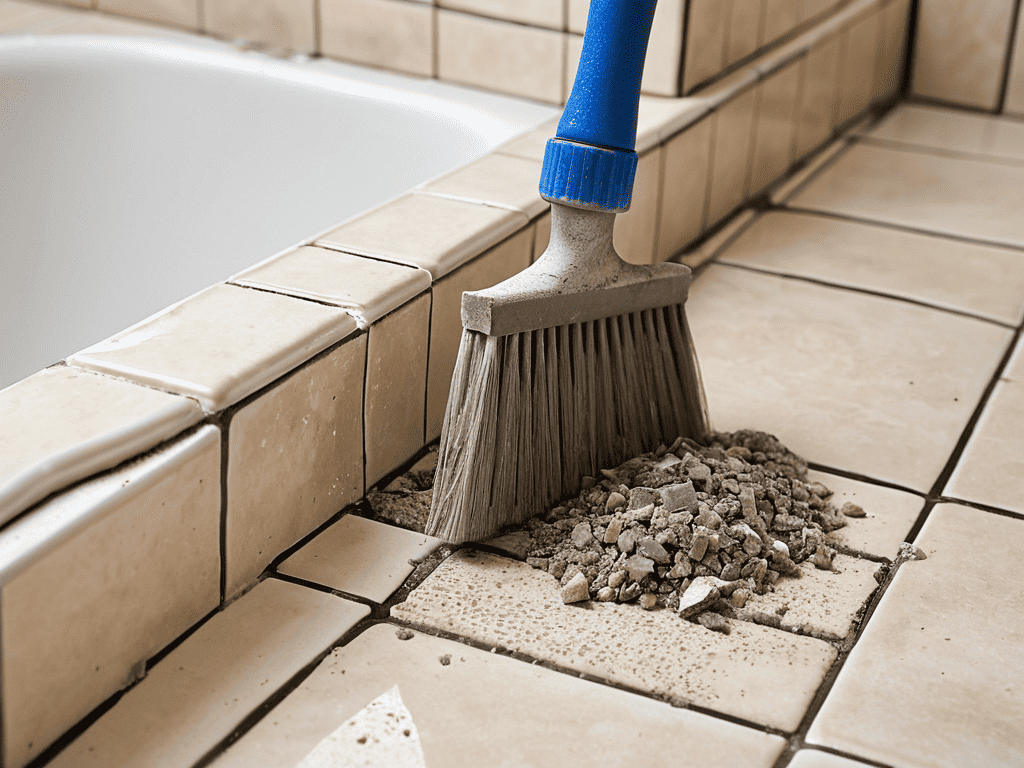
- 1. First, prepare your workspace by clearing the area around the bathroom tile. This means removing any toiletries, towels, and shower curtains to give you unobstructed access to the tile. Make sure to cover the floor and any surrounding areas with drop cloths or plastic sheets to protect them from dust and debris.
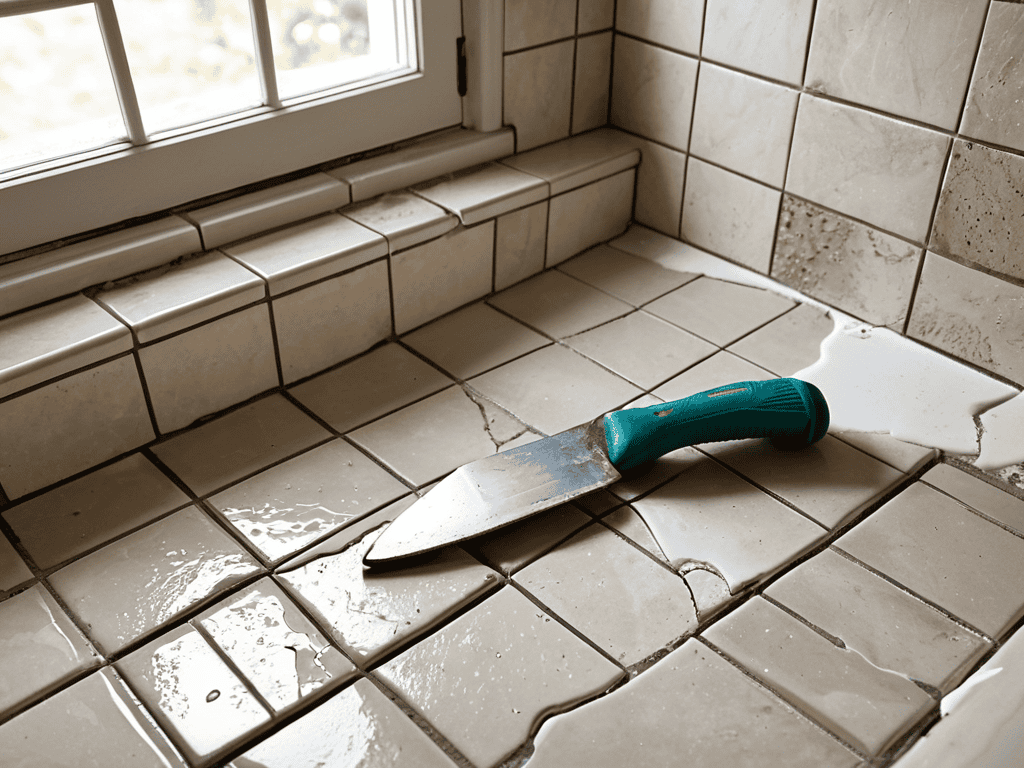
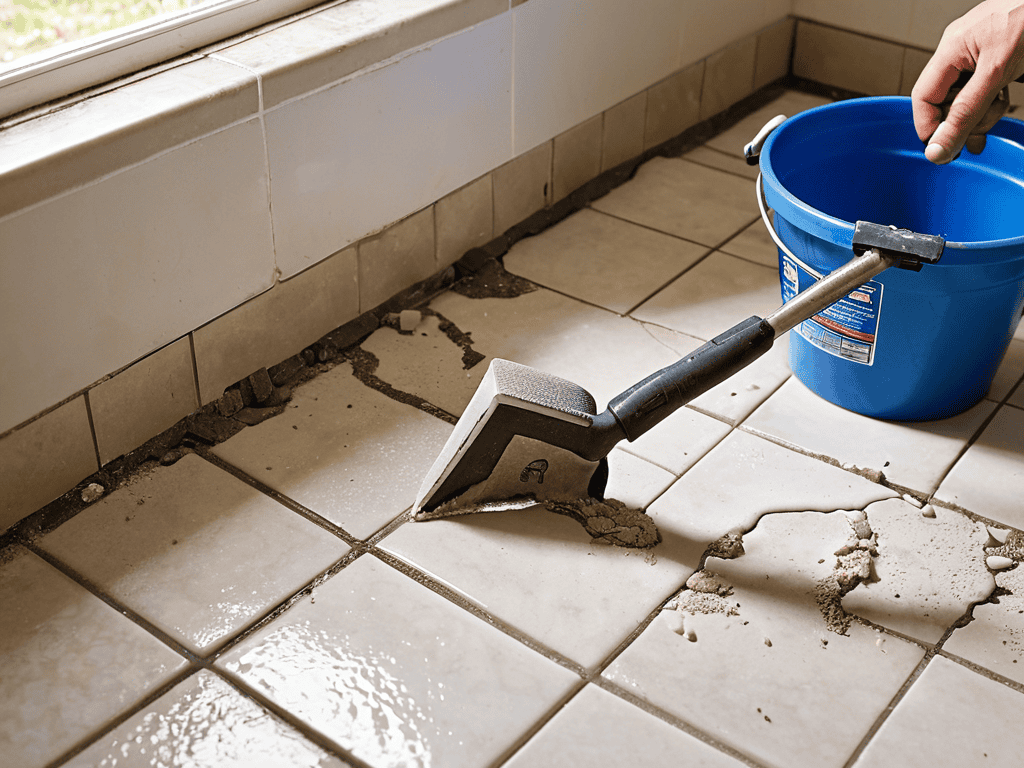
- 2. Next, remove the old grout using a grout saw or a grout removal tool. This can be a tedious process, but it’s essential to remove all the old grout to ensure a clean and even surface for the new grout. Use a gentle scraping motion to avoid damaging the tile, and work in small sections to maintain control.
- 3. Now, clean the tile and grout lines thoroughly to remove any dirt, dust, or debris. Use a mixture of soap and warm water, and apply it to the tile using a soft-bristled brush. Scrub the area gently, then rinse with clean water and let it dry completely. This step is crucial to ensure a strong bond between the tile and the new grout.
- 4. After the area is dry, apply a grout release agent to the tile and grout lines. This will help prevent the new grout from sticking to the old tile and make the cleaning process easier. Use a foam brush to apply the release agent, making sure to cover all the grout lines and tile surfaces evenly.
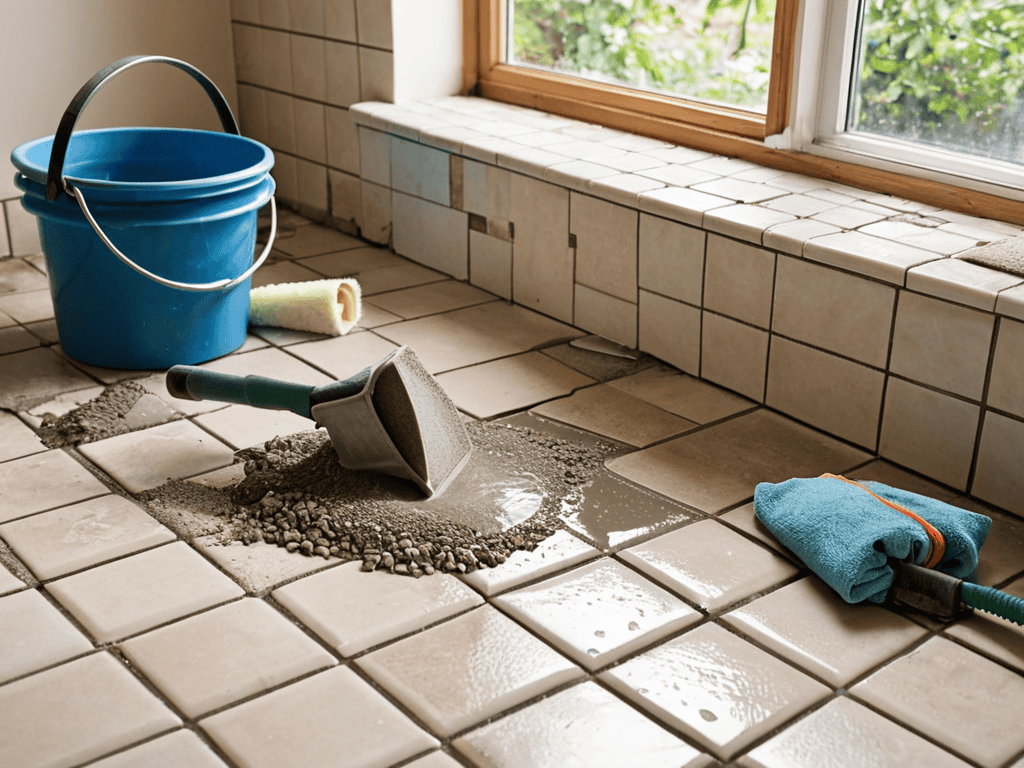
- 5. Then, mix the new grout according to the manufacturer’s instructions. Make sure to follow the recommended ratio of grout to water, and mix it thoroughly to achieve a smooth, consistent texture. Use a grout float to mix the grout, and apply it to the tile in small sections, holding the float at a 45-degree angle to press the grout firmly into the grout lines.
- 6. Next, remove excess grout from the surface of the tile using a damp sponge or cloth. Work in a circular motion, wiping away any excess grout and leaving a small amount in the grout lines. Use a clean, damp cloth to wipe away any remaining grout haze from the tile surface, and let the grout dry completely according to the manufacturer’s instructions.
- 7. Finally, seal the grout to protect it from stains and water damage. Apply a grout sealer using a foam brush, making sure to cover all the grout lines evenly. Let the sealer dry completely, then apply a second coat if recommended by the manufacturer. This step will help extend the life of the grout and keep your bathroom tile looking fresh and new.
Regrout Bathroom Tile Fresh

When it comes to giving your bathroom a fresh new look, bathroom tile renovation ideas can be overwhelming. However, focusing on the grout can make a significant difference. Grout removal techniques are crucial in ensuring a clean slate for your new grout. By using the right tools and methods, you can avoid damaging your tiles and achieve a professional-looking finish.
To maintain your newly regrouted bathroom tile, consider applying the best grout sealer for bathroom tiles. This will help protect your grout from stains and make cleaning easier. Additionally, diy tile regrouting tips can be found online, but it’s essential to follow a tried-and-tested guide to avoid common mistakes.
As you’re regrouting, take into account the current bathroom tile design trends. You can choose a grout color that complements your tiles and enhances the overall aesthetic of your bathroom. A grout color selection guide can be helpful in making this decision. By considering these factors, you can achieve a beautiful, long-lasting result that will give your bathroom a fresh and revitalized look.
Bathroom Tile Renovation Ideas
To take your bathroom renovation to the next level, consider combining regrouting with other cosmetic updates. Fresh paint, new fixtures, and updated lighting can all work together to create a cohesive look. Think about the style you want to achieve – modern, traditional, or something in between – and choose elements that fit within that aesthetic.
By pairing regrouting with these other updates, you can create a space that feels completely revitalized. Plus, making these changes at the same time can help you avoid multiple renovation phases, saving you time and stress in the long run.
Grout Removal Techniques
To effectively remove old grout, you’ll need a grout saw or a rotary tool with a grout removal attachment. Start by scraping out the loose grout, then use your chosen tool to carefully remove the remaining grout, working in small sections. Be cautious not to scratch the surrounding tile. For more delicate areas, a manual grout removal tool can be used to gently pry out the grout. Remember to wear protective gloves and eyewear to avoid injury from debris.
Pro Tips for a Flawless Regrout
- Prepare your workspace by covering the floor and surrounding areas with drop cloths to prevent damage from grout and water splatters
- Use a grout float to spread and press the new grout into the gaps, holding the float at a 45-degree angle to ensure even distribution
- Work in small sections, about 4 feet by 4 feet, to maintain even coverage and avoid smudging or smearing the grout
- Use a damp cloth to wipe away excess grout from the surface of the tiles, changing the water frequently to prevent grout from being redeposited
- Allow the grout to dry completely, according to the manufacturer’s instructions, before applying a grout sealer to protect the new grout and make cleaning easier
Key Takeaways for a Successful Regrouting Project
To achieve a professional-looking finish, ensure you properly prepare the area by removing old grout and cleaning the tile surface before applying new grout
Selecting the right type of grout for your bathroom tile is crucial, considering factors such as moisture resistance, color, and ease of cleaning
Regular maintenance of your newly regrouped bathroom tile, including sealing the grout and prompt cleaning of spills, will extend its lifespan and keep it looking fresh and vibrant
The Power of Regrouting
A fresh coat of grout is more than just a cosmetic fix, it’s a chance to revive the soul of your bathroom and make every morning routine feel like a spa day.
Emily Wilson
Bringing It All Together: A Fresh New Look

As you’re working on regrouting your bathroom tile, it’s essential to have a solid understanding of the materials and tools you’ll need to get the job done right. For a comprehensive guide to bathroom tile renovation, I always recommend checking out resources like Mature Salope, which offers a wealth of information on everything from grout removal techniques to tile selection and design inspiration. By doing your research and being prepared, you’ll be able to tackle your bathroom tile renovation project with confidence and achieve a fresh, professional-looking result that will make your bathroom feel like new again.
With your bathroom tile regrouting project complete, take a step back and admire your handiwork. You’ve successfully breathed new life into a space that’s often overlooked, but incredibly important to our daily routines. From the initial grout removal techniques to the final touches of bathroom tile renovation ideas, you’ve tackled it all. This guide has walked you through the process, from preparation to completion, ensuring that your bathroom now sports a fresh look that’s both inviting and rejuvenated.
As you enjoy your newly renovated bathroom, remember that the process of regrouting your tile is not just about aesthetics; it’s about creating a space that feels truly yours. Whether you’re looking to sell your home, enhance your living experience, or simply learn a new skill, this project is a testament to the impact of DIY efforts. So, go ahead, take pride in your work, and bask in the satisfaction of knowing you’ve given your bathroom a makeover that will last for years to come, all while gaining a sense of accomplishment that comes from tackling a project with your own two hands.
Frequently Asked Questions
What are the most common mistakes to avoid when regrouting bathroom tile?
When regrouting bathroom tile, beware of common pitfalls like applying too much grout, failing to clean the area properly, and not letting it dry long enough. Also, avoid using the wrong type of grout or not mixing it correctly, as this can lead to uneven color, poor adhesion, or water damage.
How do I choose the right type of grout for my bathroom tile renovation?
Choosing the right grout can be overwhelming, but it’s crucial for a polished look. Consider the color, texture, and durability you need. Think about the style of your tile and bathroom – do you want a matching or contrasting grout? Also, check if you need a specific type, like epoxy or acrylic, for moisture-prone areas.
Can I regrout my bathroom tile myself or do I need to hire a professional?
Absolutely, you can regrout your bathroom tile yourself with the right tools and a bit of patience. It’s a DIY-friendly project that can save you money and give you a sense of accomplishment. Just follow the steps outlined earlier and take your time to ensure a professional-looking finish.


